How to MYO Yoto Playlist Using a Computer (step-by-step)
Step-by-step instructions for uploading your own files to make your own Yoto playlist.
Using files that you already own is an inexpensive way to grow your Yoto library. In this post I will show you how to take any audio files from your computer and add them to a Yoto playlist at us.yotoplay.com . You will need to use a computer or web browser for this tutorial.
What If I don’t Own a Yoto?
That’s ok. You don’t have to own a Yoto player to create or use a Yoto account. You can still stream from your devices, purchase digital cards, and create your own playlists all by using the app.
Create a MYO Yoto Playlist Using a Computer
Head to the Yoto website
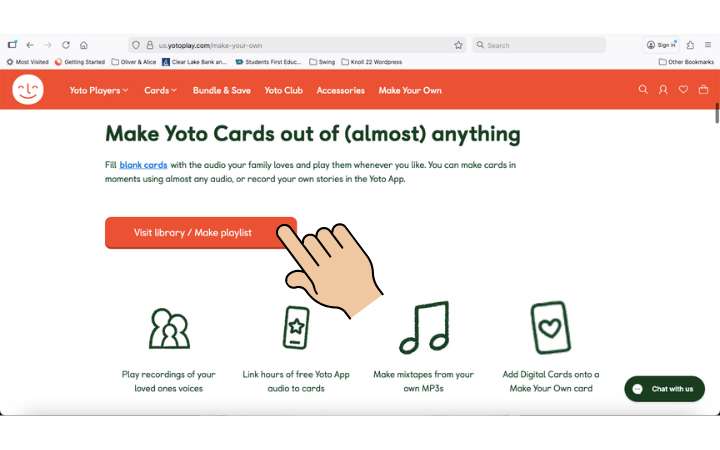
To begin, head over to us.yotoplay.com/make-your-own
Once there click on the “Visit Library/Make Playlist” button.
Log In To Your Yoto Account
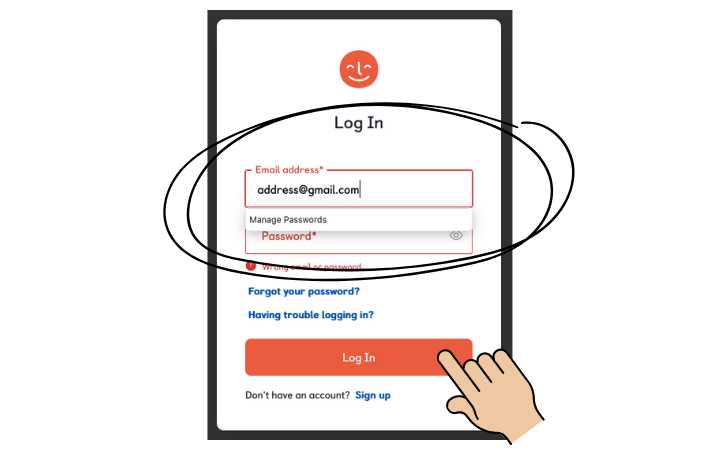
The button above will direct you to a log in page. Log in using your Yoto account. If you don’t have one you can create one. You don’t have to have a Yoto player to create or use a Yoto account.
Create a New Playlist
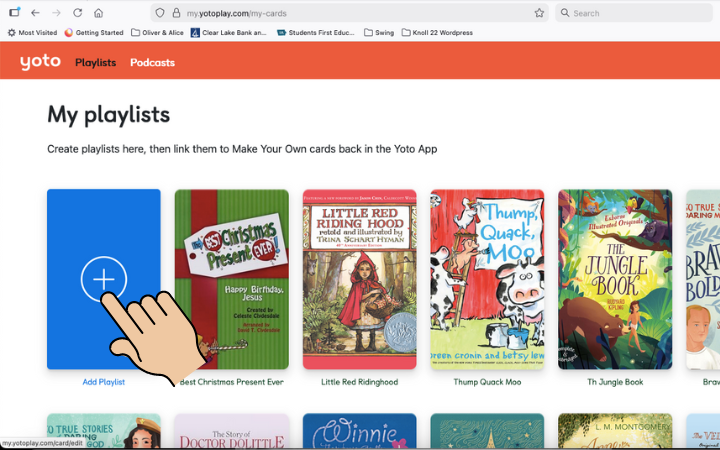
After you log in, you will be directed to the “My Playlists” page. Click on the blue rectangle with the plus symbol that says “add playlist”.
Upload Files
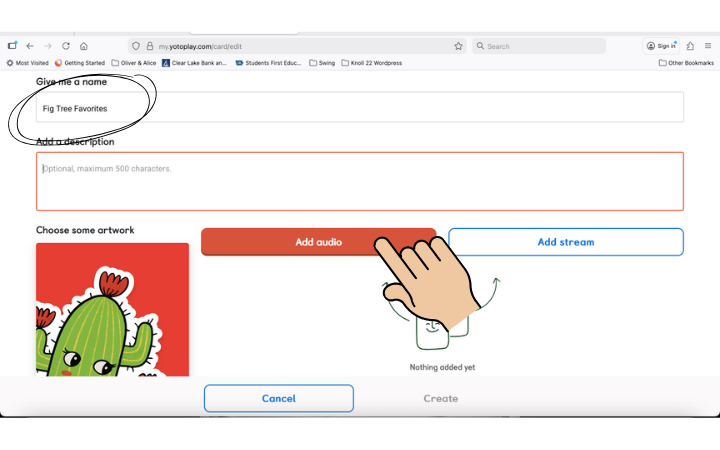
From the new playlist screen you and add a title to your playlist (circled below), and a description (optional) and upload files.
I gave my playlist the title “Fig Tree Favorites” then clicked the “add audio” button to upload my audio files.
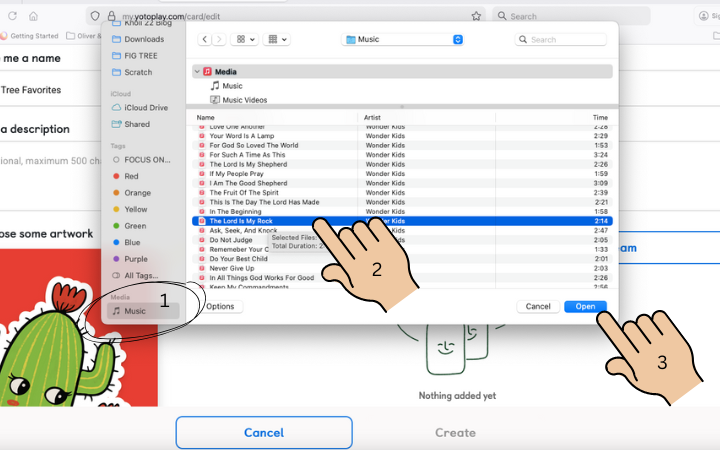
Find the file on your computer containing the audio tracks. I have an Apple MacBook so mine are stored in the “Music” file along the left menu bar. (1)
Select the tracks that you want to upload to your playlist (2).
Note that tracks don’t always seem to upload in proper order, so you may have to arrange them after upload or upload them one at a time.
Once your files are selected, click the “open” button (3).
You can repeat the “add audio” step as many times as you would like, adding tracks from different files. Yoto does limit you to 99 tracks per playlist.
Note: you won’t be able to add more tracks until the previous ones are fully uploaded.
To rearrange tracks, click and hold the three parallel lines in front of the track number, then drag the track to the proper place and release.
Add Track Images
If you want each track to show an icon or image on the mini screen of your Yoto player while it plays, you can select those now. (You can always come back and do it later too).
To select a track image, click on the colorful “plus” symbol in front of the track number.
A “select icon” menu will appear. You can choose from any of the many icons available.
Clicking on an icon will apply it to a single selected track. If you want the image to apply to all tracks in the playlist select the “apply to all tracks” square before clicking on the icon of your choice.
Change Cover Photo and Create
Once you have uploaded all your audio files, you can upload your own artwork for the album cover or let Yoto randomly select a graphic for you from their collection of images. (1)
You can also choose to toggle options for shuffling and track numbers.
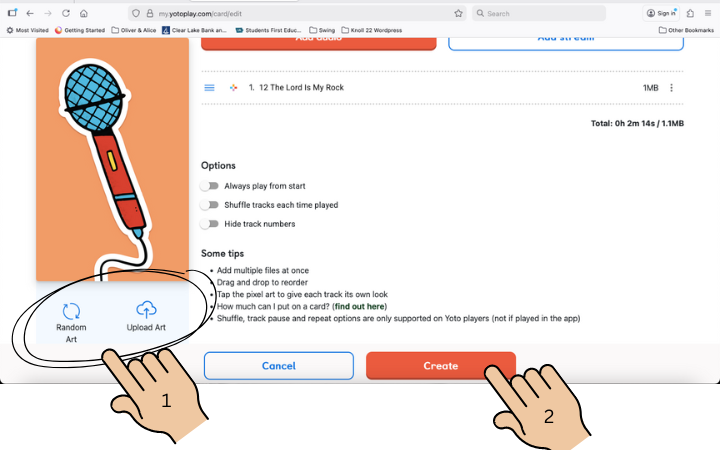
Finally, click the create button (2) and your playlist will be complete.
Accessing the playlist
Once you click “create” you will automatically be directed to the “my playlist” page. Your new playlist should be the first one in the library. It will also automatically appear in your Yoto app library, just be sure to scroll over to the playlists tab. (It won’t be on the home screen with the purchased cards).

Link to a MYO Yoto Card
Now you’re ready to link the playlist to a MYO card.


