Make Your Own (Professional Looking) Yoto Card Labels
A step by step tutorial on how to make your own Yoto card labels that look sleek and professional. Almost like the real thing!

I can be a little OCD on certain things. One of those things is making sure projects don't turn out "tacky". I really prefer when projects have a clean professional appearance, done with excellence and quality. Making Yoto card labels is no different.
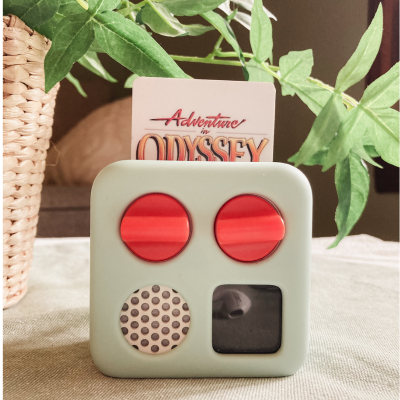
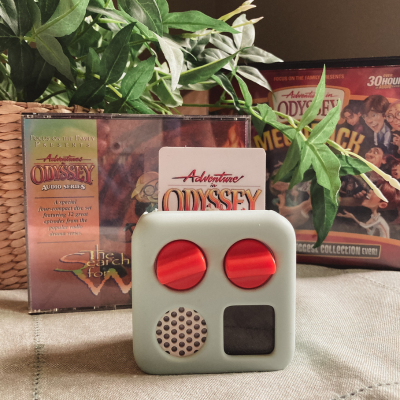
I had seen others on social media use markers to write on their cards, or print vinyl labels that became scuffed with use (I found this out on my first attempt). There is nothing wrong with any method to mark your cards, as long as it works for you. So for me, I came up with a way to make professional looking labels that are very difficult to tell from the "real thing". I've included a few below.
Can you tell which are from Yoto and which I made myself?

(MYO are - top left: Keys for Kids, bottom middle: Paws & Tales, bottom right: Average Boy Podcast)
With just a few supplies and a little bit of time you can make professional looking Yoto card labels that are durable and look great in your collection. Let me show you how...
Make Your Own Yoto Card Labels
Necessary Supplies List
MYO Yoto Card Canva Template
You can use my Yoto MYO Card Label Canva Template to create your own designs. Simply upload your images and drop them into the frames. I've included the full instructions below.
If you are new to Canva you will have to create an account. If you already are a Canva user, go ahead and log in to edit the template.
Select Images
First, select the images you want to use for your Yoto card labels. Some book authors, who offer audiobooks, will have graphics already made for Yoto users to enjoy. I was able to pull these Yoto card ready images from the sites both SD Smith (the Green Ember) and Lithos Kids (Little Pilgrims Big Journey). If the author or publisher does not offer images, remember that Yoto cards are approximately a 2:3 aspect ratio (2.15" wide by 3.375" tall), so look for images that are similar proportions.
Upload Images
Once you have your images, go ahead and upload them to Canva. You can do this by clicking on the "uploads" tab on the left sidebar in the Canva template. Then select the blue "upload files" button at the top of the menu.
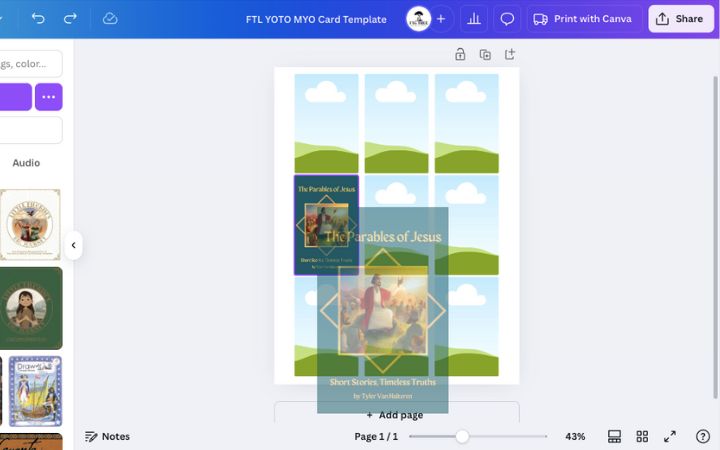
Add Images to The Template
After your images have uploaded, you can click and drag them into the template. It will automatically adjust them to be the correct size for your Yoto card. I have set the template images to be just slightly larger than the card itself. The overprinting will keep any white space from appearing along the edges, so keep that the final card will contain a small amount less of the image.
Download the Labels as a PDF
Once your page is complete, it's time to download the label file. Canva does offer print options as one of their services, but you won't be able to print directly to your computer from their website.
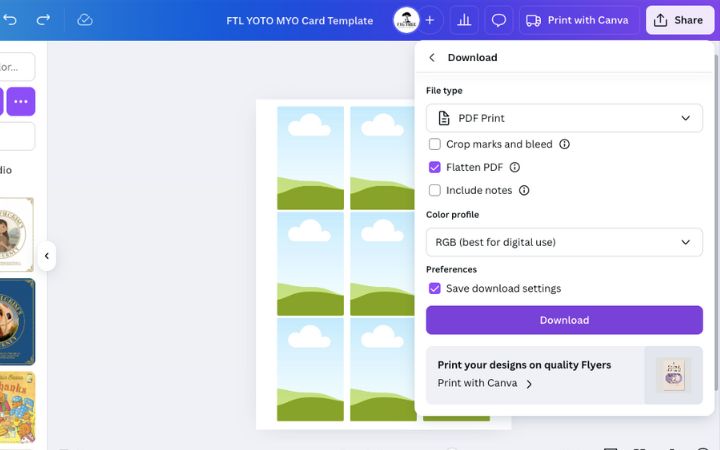
To download, first select the "share" button in the upper right hand corner. From the drop down menu go to "download".
In the download menu, select the file type you prefer from the top dropdown menu. I prefer PDF PRINT. I also like to flatten the PDF to reduce errors in printing. It's optional, but you can check that box if you like.
Go ahead and click "download".
Print the Label Download
Navigate to your computer's downloads file, and the PDF should be there. Open it with your preferred program (I use preview) and print it from there. In the print settings, select the highest quality printing option your printer allows. Before pressing "print" be sure to load your vinyl sticker paper. For most inkjet printers you will need to put the side you want printed on ("right side") facing down in the paper cassette. If not properly loaded you will end up with the images printed on the backside (not sticky side) of your label sheet, and can run it through again the correct way.

Cut The Labels
Use a scissors (or slider cutter) to cut apart each label. You can cut along the edge of the image because a little margin of error is already built in. (If you choose to leave white space around the edge of the images it will make it more difficult to get it centered and straight on the card later on.)
Cover Each Yoto MYO Card Label with Contact Paper
Cut a piece of contact paper slightly larger than your adhesive image "sticker".
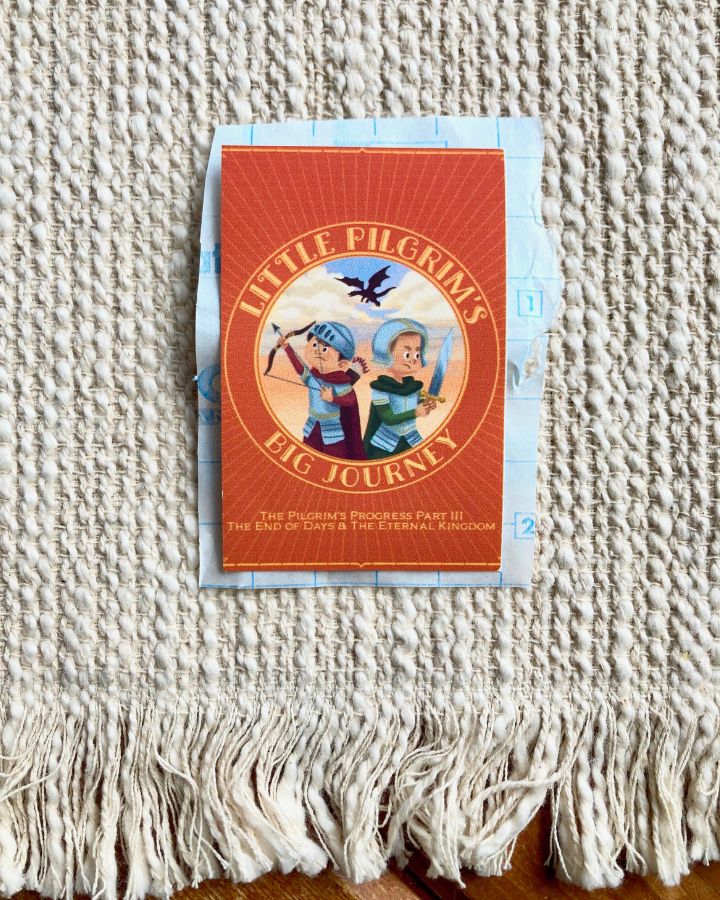
Remove the backing from the contact paper and place it sticky side up in front of you. Position the label, image side down, in the center of the contact paper.
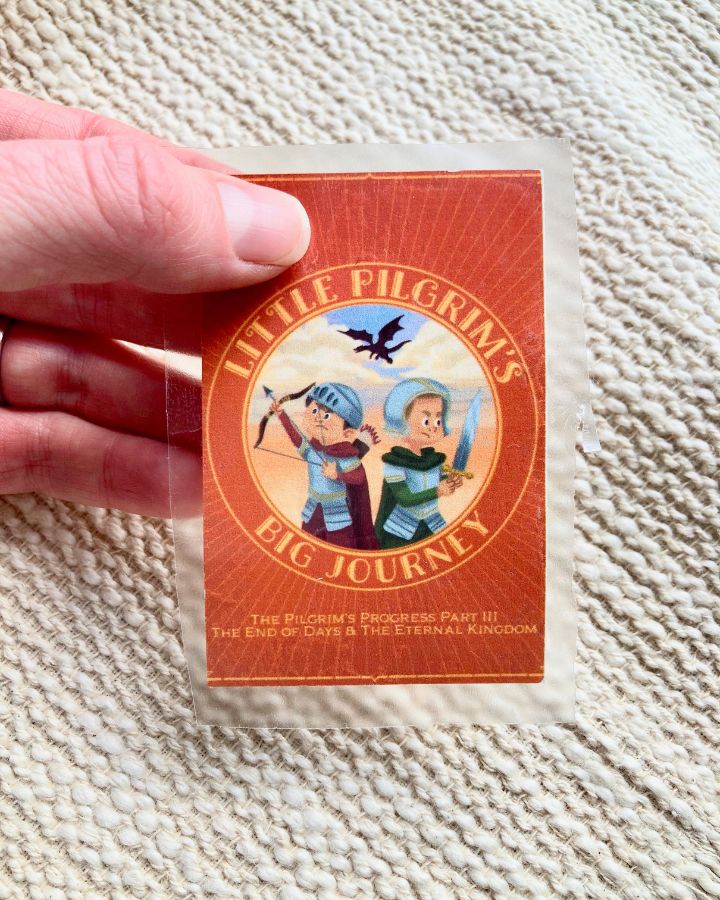
I suggest laying it down in a slight rolling motion, moving from one edge to the other while pressing it firmly to remove any air bubbles. Flip the label over and use your fingernail or a firm object to rubthe contact paper and vinyl print together. (I use another Yoto card as a "rubber"). The harder you rub the more clear the image becomes.

Attach the Label to the MYO Card
Don't do any more cutting just yet. In the raw sticky edged state that the label is currently in, peel off the backing to the printed vinyl image and place the entire thing sticky side up.
It's ok if your finrgers touch the contact paper at this point, because none of the contact paper will directly stick to the Yoto card, so any dirt from your fingers won't affect anything.

Take your MYO Yoto card, and place it in the center of the label. You want a sliver of the vinyl label showing on each side of the card.

Flip the card face up, and use your "rubber" (finger or Yoto card) to firmly press the label onto the card and ensure there aren't any bubbles.
Trim the Excess
Use your sharp scissors to run along the edge of the card and carefully trim the corners. You don't want any extra label showing that might catch and pull up later, and be careful to not "over cut" and end up with a white frame on the face of the card. It's really not difficult, and the cuts usually come out great every time.
Once the label is firmly in place, now it is time to cut.

That's It!
The cards are ready for use. Go ahead and link to your favorite content and enjoy!